

Epson T20 Guest Receipt Printer Troubleshooting & Info
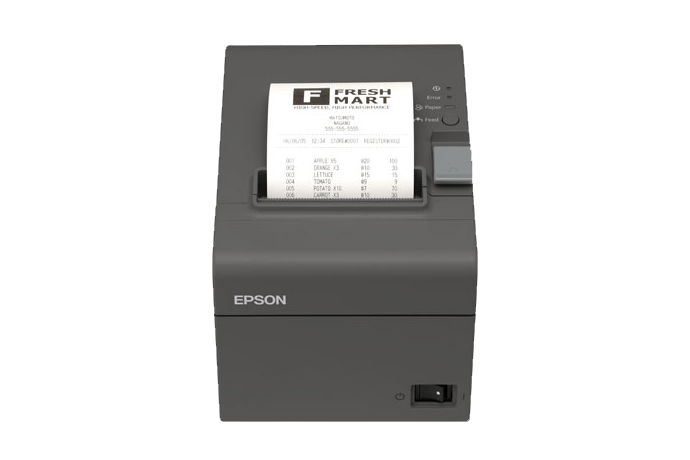
This article applies to the Epson T20 thermal printer. There is a newer model in use, called the T-20II and the T-20III. Please do not confuse them. While they look the same, some of the details between the two are different.
The T20 has the power supply built in to the printer. There is no need for an external power brick. The T-20-II and T-20-III printers require an external power brick.
The T-20 line of printers (I, II & III) do NOT have changeable interface cards.
 |
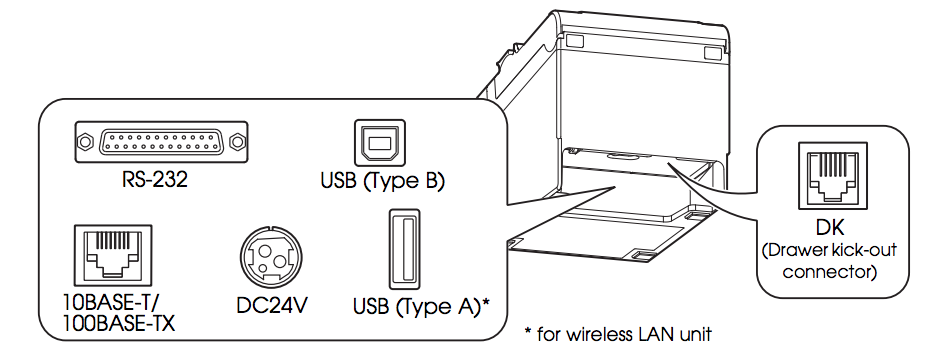
Dimensions:5.51” x 7.83” x 5.75” (140 x 199 x 146 mm) (W x D x H) Weight: 3.75lb (1.7 kg) Power: 100 ® 240V AC, 50/60 Hz Data Ports: Ethernet or USB/Serial Paper Size: 80mm/3.15in |
 |
|
Follow the steps below to install/replace the roll paper.
| 1. Use the cover open lever to open the roll paper cover. Push in the direction of the arrow towards the top/back of the printer. | 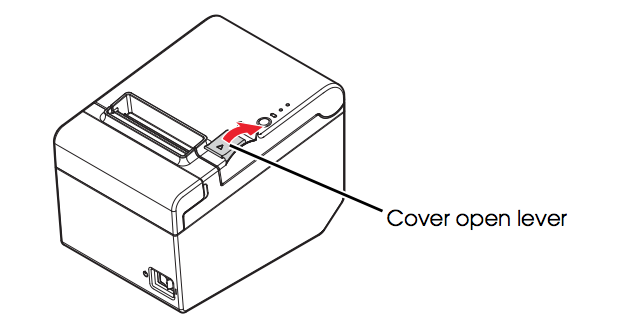 |
| 2. Remove the used roll paper core if any, and insert the roll paper. The correct direction of the paper is shown in the illustration below. | 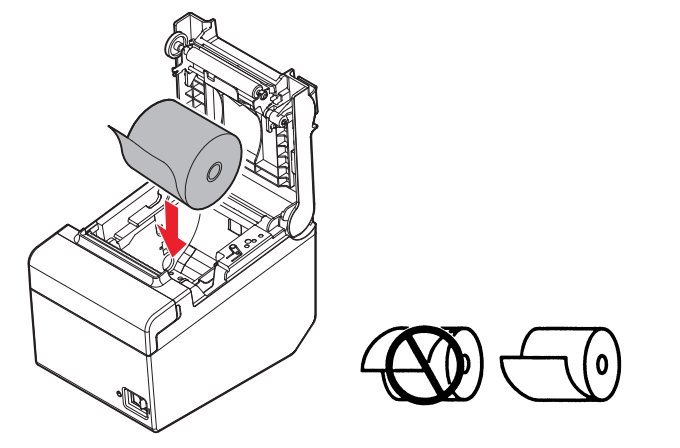 |
| 3. Pull out some paper, and close the roll paper cover. When the printer power is on, the roll paper is automatically cut. | 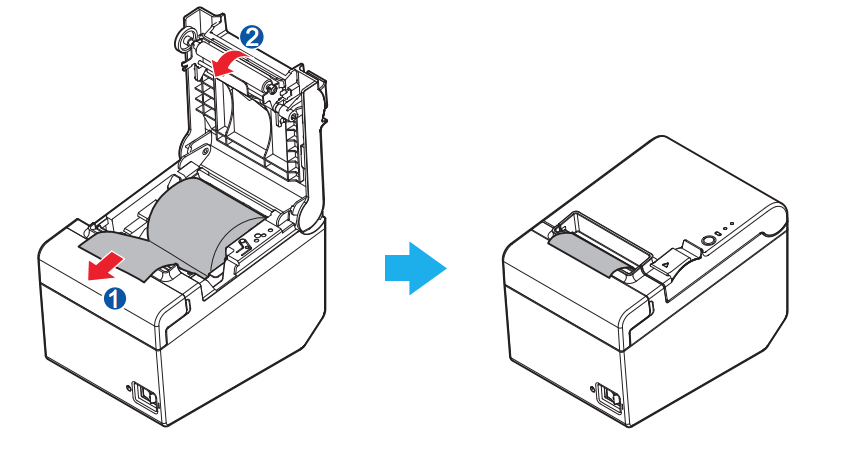 |
If the roll paper cover does not open, follow the steps below.
| 1. Turn off the printer. | |
| 2. Put the fingers in the indents on both sides of the cutter cover, and slide it toward the arrow in the illustration below to remove it. | 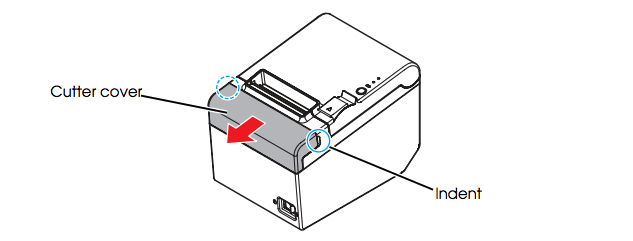 |
| 3. Turn the knob until you see a triangle in the opening. This returns the cutter blade to the normal position. See the operating instructions on the back of the cutter cover. | 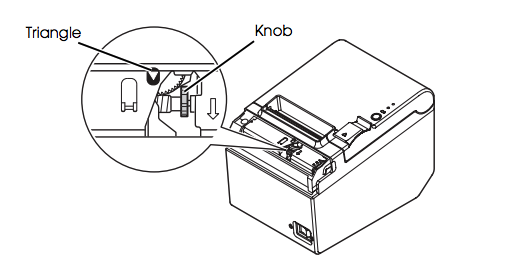 |
| 4. Install the cutter cover. | |
| 5. Open the roll paper cover and remove the jammed paper. |
Comments
0 comments
Please sign in to leave a comment.